 |
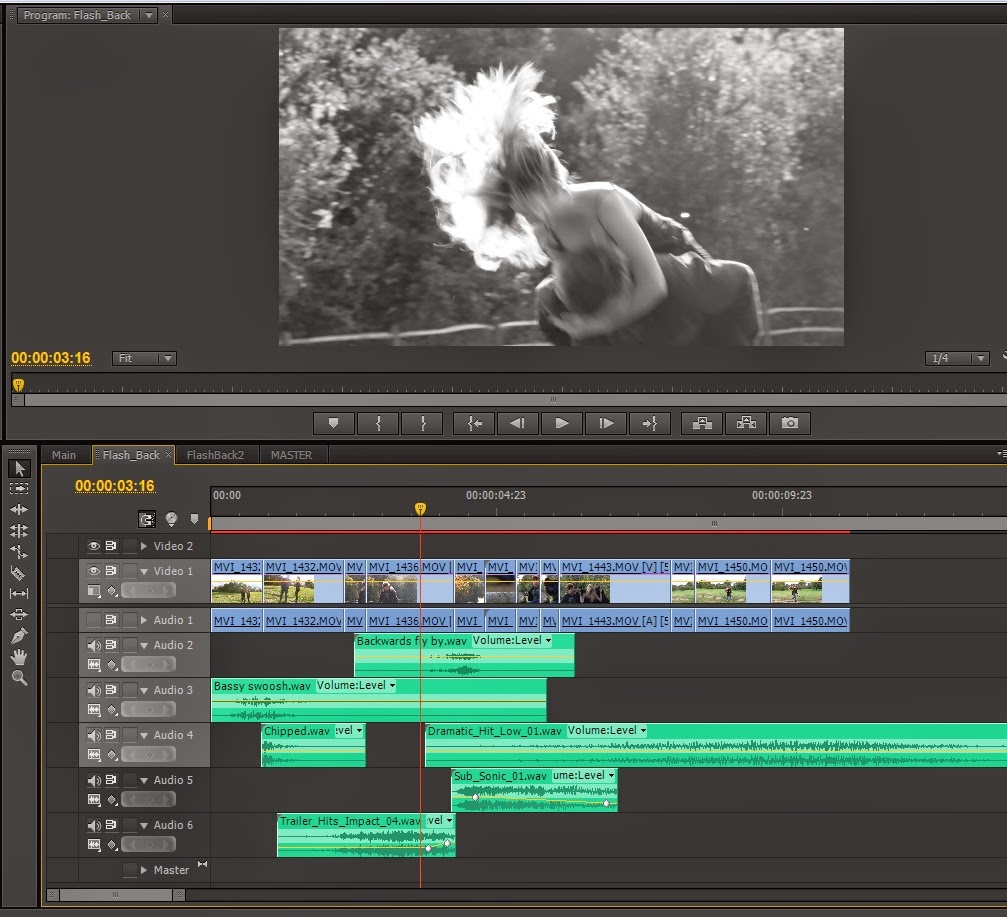
| Here is a a general overview my screen in Adobe Premiere Pro CS6. |
 |
| And a close up view of the timeline |
As you can see, I am using three separate video tracks and eight separate audio tracks. Bright green clips represent other sequences that I had made earlier, in this case they were the flashback scenes.


On either side of this text there are two small screenshots of the two flashback sequences. I applied the tint affect to all of the clips in both sequences and changed none of the settings. This gives a black and white effect.
One shot had to be done inside of Adobe After Effects CS6, and this was the shot of the TV turning on to reveal the public service announcement.
Originally the TV turned on to a blue screen which looked like this:
The idea came to me that I could use a keying effect to use the blue screen as a "blue screen", and overlay the Public Service Announcement onto the top of it. I used Keylight 1.2 for this, as can be seen here:
You can see the finished product in the picture directly above this line of writing. I split the footage of the TV into two, so that the Keylight effect only kicked in after a second or two of the screen being blue, so as to give the effect of the TV having more time to boot up.
The colours of the film looked slightly warm, so I applied Colour Curves inside of Adobe Premiere in order to remove some of the red colour and also change the brightness and contrast.
It's slightly difficult to see but I have ever so slightly taken out some of the red midtones by pulling down on the middle of the red curve. I also darkened the overall midtones by pulling down the middle of the master curve.
I have taken a screenshot of the clip before and after this effect was applied, and spliced them together down the middle so we can see the effect that this has on the look and feel of the film:
 |
| Original on the left, result on the right. |
This shot looks darker and better fits the overall tone and feel that we wanted to convey with the film. Then I thought some more about the fact that the film revolves around a virus, so decided to add a tint effect to the entire timeline in order to make the piece have more of a sickly feel to it. Again, I have made a before and after shot:
It's very subtle but you can see the line going down the center of the frame and brushing along the corner of Lily's eye (the eye closest to the camera).
The resulting shot looks like this:
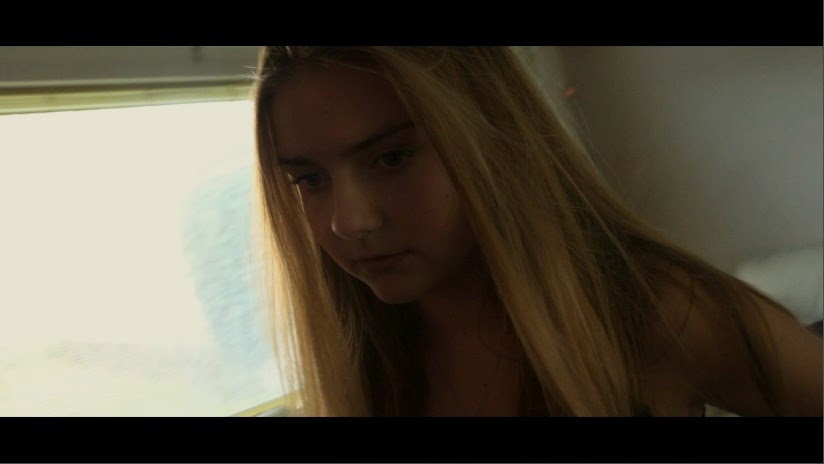
Finally I wanted to give the piece a more cinematic feel so decided to change the aspect ratio by cropping the image down. I cropped 10% off of the top, and 10% off of the bottom. This gives a "black bars" or "letterbox" effect which makes the entire production look more cinematic and widescreen.
And the finished product looks like this;


BRILLIANT
ReplyDelete